Why Homemade Whipped Cream Reigns Supreme: Ditching the Can for Culinary Bliss
Forget those sad, anemic squirts from a can or the overly sweet, artificial tubs found in the dairy aisle. If you've ever wondered
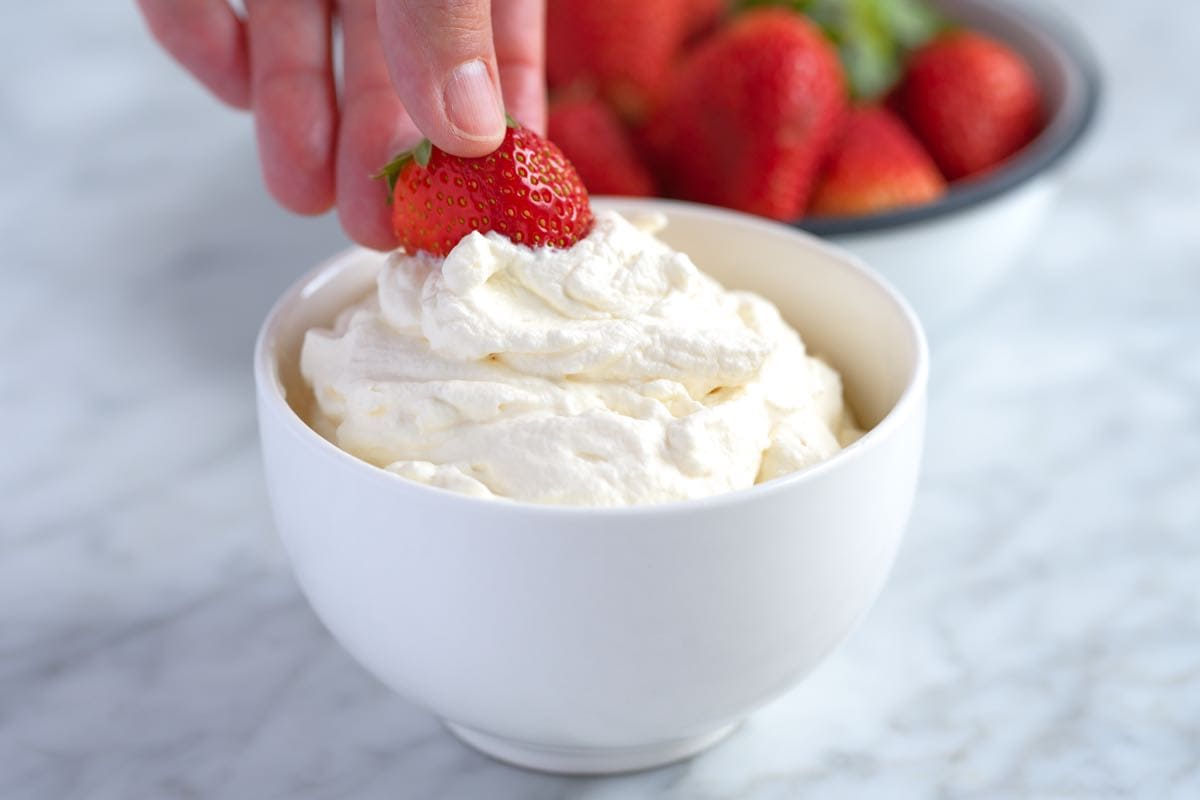
How To Make Homemade Whipped Cream, prepare to have your dessert game utterly transformed. There's a profound difference between the airy, rich, and subtly sweet cloud of fresh whipped cream and its store-bought counterparts. Andrew Zimmern famously states that canned whipped cream "doesn't even compare," and we wholeheartedly agree. Homemade whipped cream is not just a topping; it's an experience—a billowy, light, and fluffy masterpiece that elevates everything it touches, from a simple bowl of berries to a majestic key lime pie.
Beyond the unparalleled taste and texture, making whipped cream from scratch offers a delightful sense of accomplishment and control. One of the best motivations is knowing exactly what ingredients go into your food, cutting down on "fake ingredients" and ensuring a purer, more wholesome treat. With just three basic ingredients and a few minutes of your time, you'll create a topping so superior, you'll wonder why you ever settled for less. This comprehensive guide will walk you through every step, arming you with pro tips to ensure perfect peaks every time and, crucially, how to avoid the dreaded transformation into butter.
The Science of Chill: Why Cold is Your Best Friend for Perfect Whipped Cream
The secret to perfectly whipped cream, as many culinary experts will attest, lies in one critical factor:
coldness. This isn't just a suggestion; it's a fundamental principle rooted in food science. Heavy whipping cream is essentially an emulsion of fat globules suspended in water. When these fat globules are cold, they are firmer and more stable. As you whisk, air is incorporated, and these firm fat globules begin to clump together, forming a network that traps the air, creating the light, airy structure we adore.
If your cream isn't cold enough, the fat globules are softer and more prone to breaking down. This leads to a longer whipping time, a less stable whip, and a higher risk of over-beating and separating into butter.
To give your homemade whipped cream the best start:
- Chill Your Cream Thoroughly: Ensure your heavy whipping cream has been in the refrigerator for at least 6-8 hours, ideally longer. The colder, the better. Many chefs recommend storing your cream in the coldest part of your fridge, often the back of the bottom shelf.
- Freeze Your Equipment: This is a game-changer. Placing your mixing bowl (preferably metal or glass, which retain cold better) and whisk attachment (or balloon whisk) in the freezer for 10-15 minutes before you start will significantly aid the whipping process. The cold surface of the equipment helps keep the cream chilled as it whips, creating a more stable and voluminous result.
- Work Quickly: Once you take your cold ingredients and equipment out, try to work efficiently. The longer they sit out, the warmer they become, reducing their whipping potential.
This attention to temperature might seem minor, but it's the foundation of a truly successful, stable, and
Fluffy Homemade Whipped Cream.
Your Whipped Cream Toolkit & Ingredients for Success
Making homemade whipped cream doesn't require a specialty store trip; you likely have most of what you need already.
Essential Equipment:
- Mixing Bowl: A deep bowl is best to prevent splatters. As mentioned, metal or glass bowls chilled in the freezer are ideal.
- Whisking Tool:
- Stand Mixer with Whisk Attachment: The easiest and most hands-off option.
- Electric Hand Mixer: A great alternative if you don't have a stand mixer.
- Balloon Whisk: Requires some manual effort but yields a surprisingly good result and allows you to feel the cream's consistency directly. It's a fantastic workout!
- Spatula: For scraping down the bowl and serving.
The Perfect Ingredients:
Remember, quality ingredients truly shine when they're so few.
- Heavy Whipping Cream (or Heavy Cream): This is non-negotiable. Look for cream with a minimum of 36% milk fat (sometimes up to 40%). Do *not* use "whipping cream" (which has 30-35% fat) if you want the most stable, voluminous results, though it can work in a pinch. Half-and-half, light cream, or whole milk will not work as they lack sufficient fat content to hold air. A standard pint (2 cups) is a good starting point for most recipes.
- Sweetener: Powdered Sugar (Confectioners' Sugar) is King!
- Powdered Sugar: This is our top recommendation. It dissolves instantly, preventing any gritty texture, and often contains a small amount of cornstarch, which acts as a natural stabilizer, helping the whipped cream hold its shape longer. Start with 1-2 tablespoons per pint of cream, adjusting to your sweetness preference. Andrew Zimmern suggests 2 tablespoons, which is a good baseline.
- Granulated Sugar: Can be used, but it's crucial to add it early to allow time for it to dissolve completely. It might still result in a slightly less smooth texture.
- Maple Syrup or Honey: For an alternative flavor and sweetness, these can be delightful, but use sparingly as they add liquid and can slightly reduce volume.
- Flavoring: Vanilla Extract is Classic
- Pure Vanilla Extract: A half teaspoon per pint is a perfect starting point. Pure vanilla offers a depth of flavor that imitation simply can't match.
- Other Extracts: Almond, peppermint, or citrus extracts can add wonderful twists.
- Citrus Zest: Lemon, orange, or lime zest (as a nod to key lime pie!) can brighten the flavor without adding liquid.
- Liqueurs: A splash of Grand Marnier, Kahlúa, or a fruit liqueur can add an adult twist for specific desserts.
- Cocoa Powder: Sifted into the cream for a chocolate version.
The Foolproof Method: How To Make Homemade Whipped Cream, Step-by-Step
Once your ingredients are cold and your equipment is chilled, the process is incredibly straightforward. This is
How To Make Homemade Whipped Cream with confidence.
- Combine Ingredients: Pour your very cold heavy whipping cream into your chilled mixing bowl. Add your powdered sugar and vanilla extract (or other chosen flavorings).
- Start Slow: If using a stand mixer or hand mixer, start at a low speed. This helps to prevent splatters and allows the sugar to begin dissolving evenly without creating a sugary cloud. Whip for about 30 seconds to 1 minute until the cream looks slightly thickened and foamy.
- Increase Speed: Once slightly thickened, increase the mixer speed to medium-high. You want to incorporate air efficiently without overdoing it. If using a balloon whisk, maintain a consistent, vigorous motion.
- Watch for Peaks: Keep a close eye on the cream's consistency. This is the most crucial stage.
- Soft Peaks: The cream will be visibly thicker and hold a gentle shape that softly folds over when the whisk is lifted. This is perfect for dolloping onto fruit or hot chocolate.
- Medium Peaks: The cream will hold its shape more firmly, with the tips curling slightly when the whisk is lifted. This is versatile for pies, cakes, and many desserts.
- Stiff Peaks: The cream will stand up straight and firm, with sharp tips when the whisk is lifted. Be cautious at this stage, as you're very close to over-beating. This is ideal for piping intricate designs.
- Stop Immediately: The moment your desired consistency is reached, stop whipping. It's better to under-whip slightly and manually whisk a few more strokes than to over-whip.
The entire process, especially with an electric mixer, usually takes only 3-5 minutes. It truly is a minutes-to-prepare marvel.
The Golden Rule: Preventing the Butter Blunder and Troubleshooting Common Issues
The only significant "mistake" you can make when preparing homemade whipped cream, as Andrew Zimmern wisely points out, is "over beating it and turning your cream into butter." But why does this happen, and how can you prevent it?
Avoiding the Butter Blunder:
When you whip cream, you're disrupting the fat globules and causing them to clump together, trapping air. Beyond stiff peaks, if you continue to whisk, these fat globules continue to bind, squeezing out the liquid (buttermilk) and forming a solid mass of butter.
- Pay Attention to Visual Cues: This is paramount. Watch the cream constantly, especially as it thickens. Don't walk away from the mixer during the final stages.
- Listen to Your Mixer: As the cream thickens, the sound of your mixer will often change, indicating increased resistance.
- Know When to Stop: Aim for the peak consistency needed for your specific use. If you need soft peaks, stop at soft peaks. Don't go to stiff peaks just because you can.
- Manual Finish (Optional but Smart): When you're nearing your desired consistency, you can turn off the electric mixer and finish with a hand whisk. This gives you greater control and reduces the risk of accidentally crossing the line into butter territory.
What if I Overbeat Slightly?
If your whipped cream starts to look a little grainy or slightly curdled but hasn't fully separated into butter and buttermilk, you might be able to salvage it! Add a tablespoon or two of very cold, unwhipped heavy cream to the bowl and gently fold it in by hand with a spatula. The fresh cream can sometimes help loosen the over-beaten cream and bring back a smoother texture. This won't work if it's already completely separated, but it's worth a try for minor over-whipping.
What if it *Does* Turn into Butter?
Don't despair! You haven't ruined anything; you've simply made butter! Continue mixing until the solids (butter) fully separate from the liquid (buttermilk). Strain the buttermilk (which you can use for baking or drinking), rinse the butter with cold water, and press out excess liquid. Season with salt to taste, and congratulations, you now have homemade butter! It's a happy accident, but not what we're aiming for here.
Other Common Issues & Fixes:
- Cream Not Thickening:
- Issue: Cream not cold enough, low fat content in cream, dirty bowl/whisk (any grease can prevent whipping).
- Fix: Ensure everything is thoroughly chilled, use heavy whipping cream (36%+ fat), and wash equipment meticulously.
- Grainy Texture (Before Butter):
- Issue: Granulated sugar not fully dissolved, or slightly over-beaten.
- Fix: Use powdered sugar, or try to gently fold in a splash of cold unwhipped cream if over-beating is the culprit.
Serving and Storage:
Homemade whipped cream is best enjoyed fresh. However, if you have leftovers or want to prepare it slightly in advance:
- Storage: Transfer to an airtight container and store in the refrigerator for up to 2-3 days. The cornstarch in powdered sugar helps with stability.
- Re-whipping: It might lose some of its volume and structure over time. You can sometimes re-whisk it briefly with an electric mixer or whisk just before serving to fluff it up again, but be extremely careful not to over-beat.
Conclusion
Making homemade whipped cream is one of those simple kitchen skills that delivers immense satisfaction and transforms your desserts. It's incredibly easy, requiring minimal ingredients and equipment, yet the result is a world apart from anything you can buy at the store. By understanding the importance of cold ingredients and equipment, using the right type of cream and sweetener, and mastering the art of stopping at the perfect peak, you'll consistently whip up billowy, light, and delicious cream every single time. So go ahead, whip up a batch, dollop it generously, and savor the rich, fresh taste that only homemade can provide. Your taste buds—and your desserts—will thank you!