Fluffy Homemade Whipped Cream: Just 3 Ingredients, Minutes to Make
Forget everything you thought you knew about whipped cream—especially if your experience is limited to the store-bought aerosol cans. While convenient, those cans deliver a pale imitation of the real deal. What if we told you that creating billowy, light, and perfectly fluffy homemade whipped cream is not only incredibly simple but requires just three common ingredients and mere minutes of your time? You're about to discover how to make homemade whipped cream that will elevate every dessert and make you wonder why you ever bought it from a store.
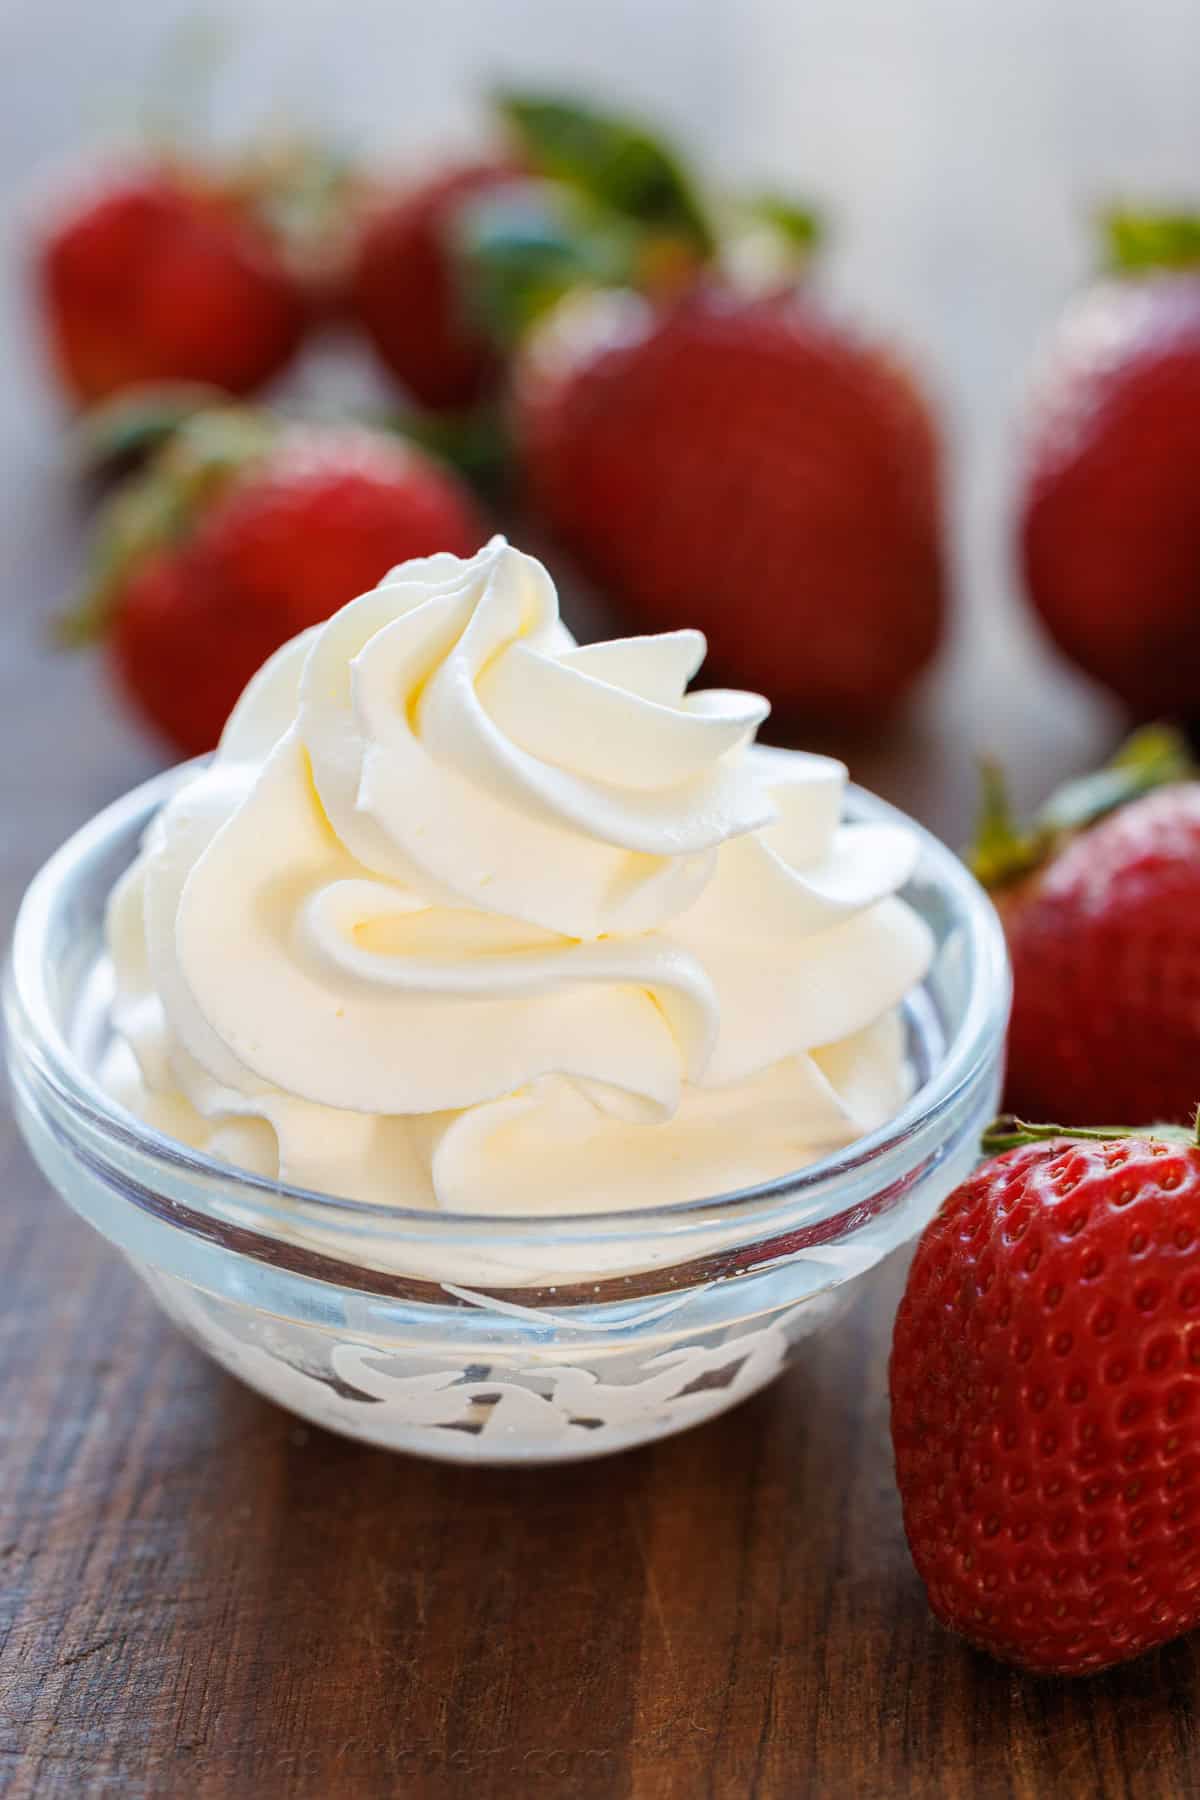
Freshly whipped cream is a game-changer. It's the crowning glory for pies, a luxurious dollop on fresh berries, a delightful swirl in hot chocolate, or even a dreamy filling for cakes and pastries. The difference in taste and texture between homemade and store-bought is profound—think rich, creamy dairy versus an often artificial, overly sweet concoction. Andrew Zimmern, a renowned chef, perfectly encapsulates this sentiment, noting that "canned whipped cream doesn’t even compare to freshly whipped cream." He even cites it as the ideal topping for his favorite Key Lime Pie. Once you experience the real thing, there's simply no going back.
Why Homemade Whipped Cream Reigns Supreme
Making whipped cream from scratch offers numerous advantages that extend far beyond mere convenience. It's an act of culinary empowerment, allowing you to take control of what goes into your food and experience flavors that are simply unparalleled.
- Unmatched Taste and Texture: The primary reason to go homemade is the sheer quality. Homemade whipped cream is inherently richer, creamier, and boasts a delicate sweetness that enhances rather than overwhelms your desserts. It has a beautiful, natural dairy flavor and a texture that is truly billowy and light, melting in your mouth without any greasy residue or artificial aftertaste. Store-bought versions often contain stabilizers, emulsifiers, and artificial flavors that compromise both taste and texture, often feeling denser or strangely slick.
- Control Over Ingredients: In an era where many are striving to reduce processed foods, making whipped cream at home is a simple yet significant step. You know exactly what you're consuming: real cream, real sugar, and natural vanilla. This contrasts sharply with many commercial whipped toppings, which can be laden with high-fructose corn syrup, hydrogenated oils, and a myriad of unpronounceable additives. As one resolution-maker wisely noted, there's a certain peace of mind in "knowing each ingredient used."
- Customization and Versatility: Homemade whipped cream is a blank canvas for your culinary creativity. You can adjust the sweetness level to your preference, add different extracts (almond, peppermint), citrus zests, or even a touch of cocoa powder for a chocolate variation. It's not just a topping; it can be a decadent filling for trifles, a light binder for fruit salads like a Strawberry Pretzel Salad, or even folded into mousses for extra airiness.
The Essential Ingredients for Perfection
The beauty of homemade whipped cream lies in its simplicity. You truly only need three core ingredients. However, understanding the role of each and selecting the right quality can make all the difference in achieving that perfect, ethereal texture.
- Heavy Whipping Cream (or Heavy Cream): This is the star of the show. The key here is the fat content. Heavy whipping cream typically contains at least 36% milk fat, which is crucial for forming stable air bubbles and achieving that luxurious, fluffy consistency. Lighter creams won't whip properly and will yield a much less satisfying result. It is absolutely essential that your cream is very cold. Cold cream, with its chilled fat globules, whips up faster and maintains its structure more effectively.
- Powdered Sugar (Confectioners' Sugar): While granulated sugar can be used, powdered sugar is highly recommended. It dissolves instantly into the cold cream, preventing any gritty texture that granulated sugar might leave behind. It also contains a small amount of cornstarch, which acts as a mild stabilizer, helping your whipped cream hold its shape for longer. Two tablespoons per pint of cream is a good starting point, but you can adjust this to your personal preference for sweetness.
- Vanilla Extract: A splash of good quality vanilla extract adds a beautiful depth of flavor that complements the richness of the cream. Half a teaspoon per pint is usually sufficient to impart that classic, comforting aroma and taste. For an extra gourmet touch, consider using vanilla bean paste or scraping seeds from a fresh vanilla bean.
Your Simple Ingredient List:
- 1 pint (2 cups) heavy whipping cream, very cold
- 2 tablespoons powdered sugar
- 1/2 teaspoon vanilla extract
Step-by-Step: How To Make Homemade Whipped Cream
Armed with your cold ingredients, you're just minutes away from creamy perfection. The process is straightforward, but a few key steps will ensure success.
- Chill Your Equipment: This is a pro tip from Andrew Zimmern and many other pastry chefs for a reason. If you have the time, place your mixing bowl (preferably metal or glass) and your whisk attachment (for a stand mixer) or beaters (for a hand mixer) in the freezer for 10-15 minutes before you begin. Colder equipment keeps your cream colder, which significantly aids in the whipping process, making it faster and more stable.
- Combine Ingredients: Add all of your very cold heavy whipping cream, powdered sugar, and vanilla extract into the chilled mixing bowl.
- Start Whipping on Low Speed: Begin whipping the mixture on a low speed (on a stand mixer or hand mixer). This allows the cream to gradually aerate without splashing everywhere. Continue whipping until the cream begins to thicken slightly and small bubbles form.
- Increase Speed and Whip to Soft Peaks: Once slightly thickened, increase the mixer speed to medium-high. Continue whipping. You'll notice the cream becoming much thicker and beginning to form ripples. Keep a close eye on it! As you approach the desired consistency, you'll see "soft peaks" form. This means that when you lift the whisk, the cream will hold its shape but the very tip of the peak will gently curl over. This is often the ideal consistency for topping pies and desserts. If you need it stiffer for piping, continue whipping for another 30-60 seconds until firm peaks form, where the peaks stand up straight.
- Alternatively, Manual Whipping: If you don't have an electric mixer, don't despair! You can absolutely achieve wonderful whipped cream with a balloon whisk and some elbow grease. The process is the same; it just requires more physical effort. Ensure your bowl is well-chilled and stable on your counter.
Pro Tips for Fluffy, Foolproof Whipped Cream (and Avoiding Disaster!)
While making homemade whipped cream is easy, a few expert insights can elevate your results and help you steer clear of common pitfalls.
- The Chilling Secret is Paramount: We've mentioned it, but it bears repeating: cold, cold, cold! The fat molecules in heavy cream solidify and bind together more effectively when cold, creating a stable network of air bubbles. Warmer cream takes longer to whip, and the resulting structure is less stable, prone to deflating quickly. If your kitchen is warm, consider placing your mixing bowl over another bowl filled with ice water while you whip.
- Don't Overbeat It! This is perhaps the only significant mistake you can make when tackling how to make homemade whipped cream. As Andrew Zimmern warns, over-beating turns your cream into butter. When you whip cream, you're introducing air into the fat molecules. If you continue past the point of stiff peaks, the fat molecules will begin to separate from the liquid, clumping together to form butter. You'll notice the cream suddenly look curdled and yellowish. If you catch it just as it's starting to separate, you might be able to whisk in a tablespoon or two of fresh, cold cream to bring it back. Beyond that point, you've got homemade butter (which isn't bad, just not what you started out for!).
- Adjust Sweetness and Flavorings: The beauty of homemade is customization. Taste your cream after achieving soft peaks and add more powdered sugar if you prefer it sweeter. Experiment with other extracts like almond, peppermint, or even a touch of maple syrup. For a chocolate version, sift in a tablespoon or two of unsweetened cocoa powder along with the powdered sugar. A pinch of cinnamon or a dash of orange zest can also add wonderful complexity.
- Storage for Freshness: Homemade whipped cream is best enjoyed fresh. However, you can store it in an airtight container in the refrigerator for up to 2-3 days. It may lose a little volume or weep a bit of liquid over time; simply give it a gentle whisk by hand to fluff it back up before serving. For longer storage, you can freeze whipped cream in dollops on a baking sheet, then transfer the frozen dollops to a freezer bag. They're great for adding directly to hot drinks!
Mastering how to make homemade whipped cream is a truly rewarding kitchen skill. It's a simple culinary triumph that pays dividends in flavor, texture, and satisfaction. Once you've experienced the rich, delicate, and utterly delicious difference of your own creation, those aerosol cans will become a distant, unappealing memory. Go ahead, give it a try tonight!